Office Cleaning Services Winnipeg: Maintaining Your Specialist Area
Wiki Article
Deck Staining Made Easy: Step-by-Step Guide for DIY Enthusiasts
Are you a do it yourself lover wanting to provide your deck a fresh face-lift? Look no more! In this step-by-step overview, we will certainly walk you via the process of deck staining. From preparing the surface to using the discolor, we've obtained you covered. With our easy-to-follow guidelines, you'll be able to change your deck right into an attractive outside room in no time. Order your devices as well as allow's obtain begun!Preparing the Deck Surface
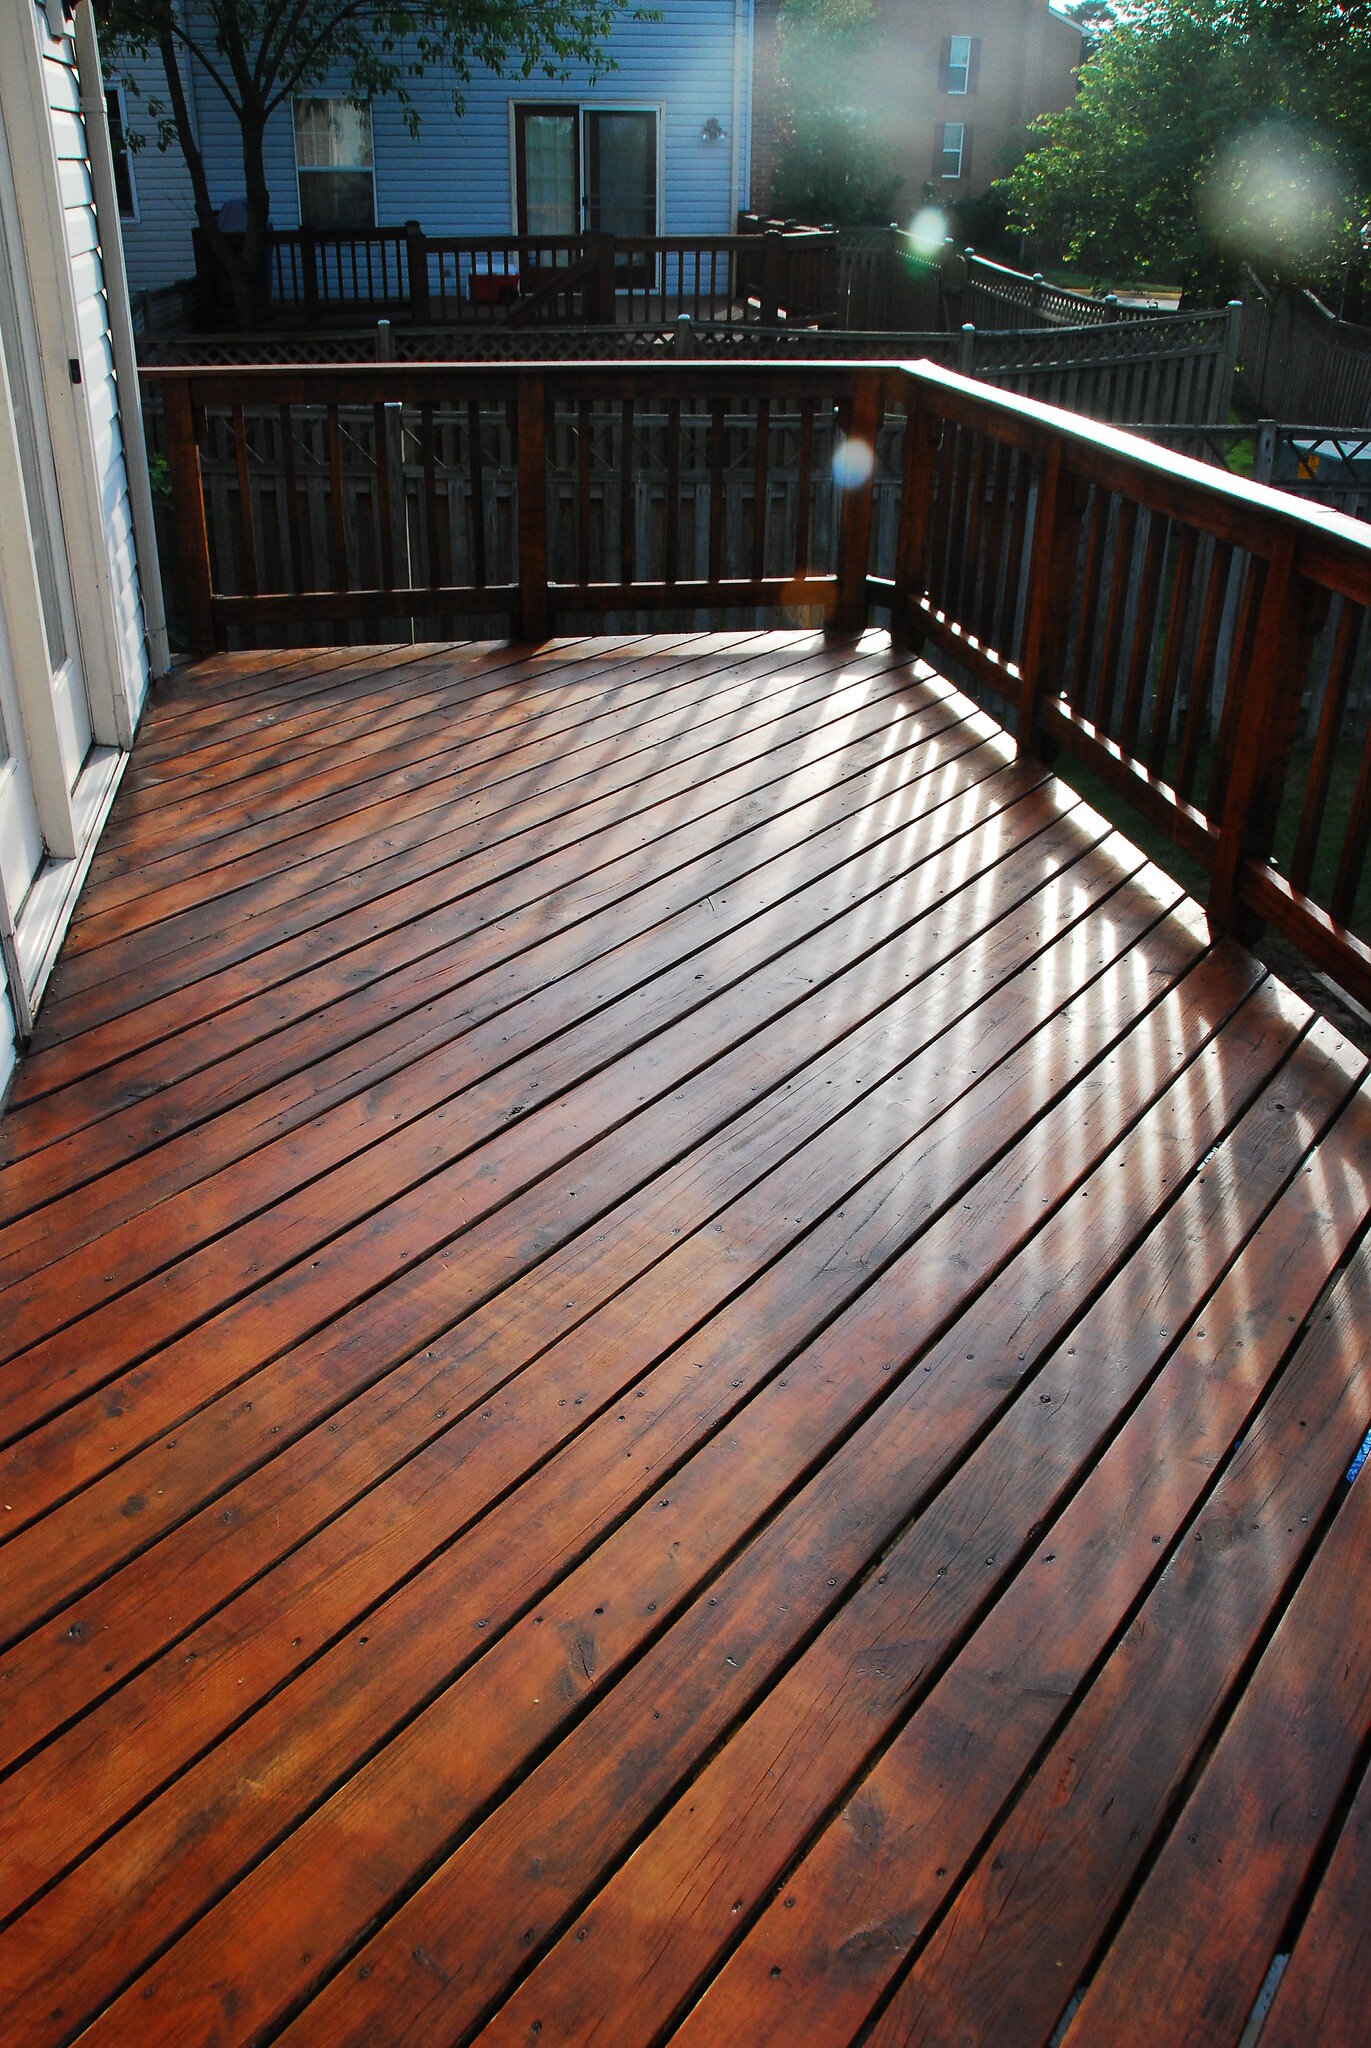
Prior to you begin staining the deck, make sure you're effectively cleaning up as well as sanding the surface. Utilize a power washing machine or a hose with a high-pressure nozzle to extensively clean up the deck. Pay close focus to areas with persistent spots or mold, and also use a deck cleaner or a blend of warm water as well as light detergent to treat them.Once the deck is dry, it's time to sand the surface. Get a portable orbital sander or a fining sand block, as well as begin fining sand the deck boards in the instructions of the wood grain. This will help eliminate any type of rough areas, splinters, or old discolor (fence staining). Make sure to use protective goggles and a dust mask to stay clear of any kind of eye or respiratory irritation. Continue sanding until the entire deck surface feels smooth to the touch.
Selecting the Right Spot
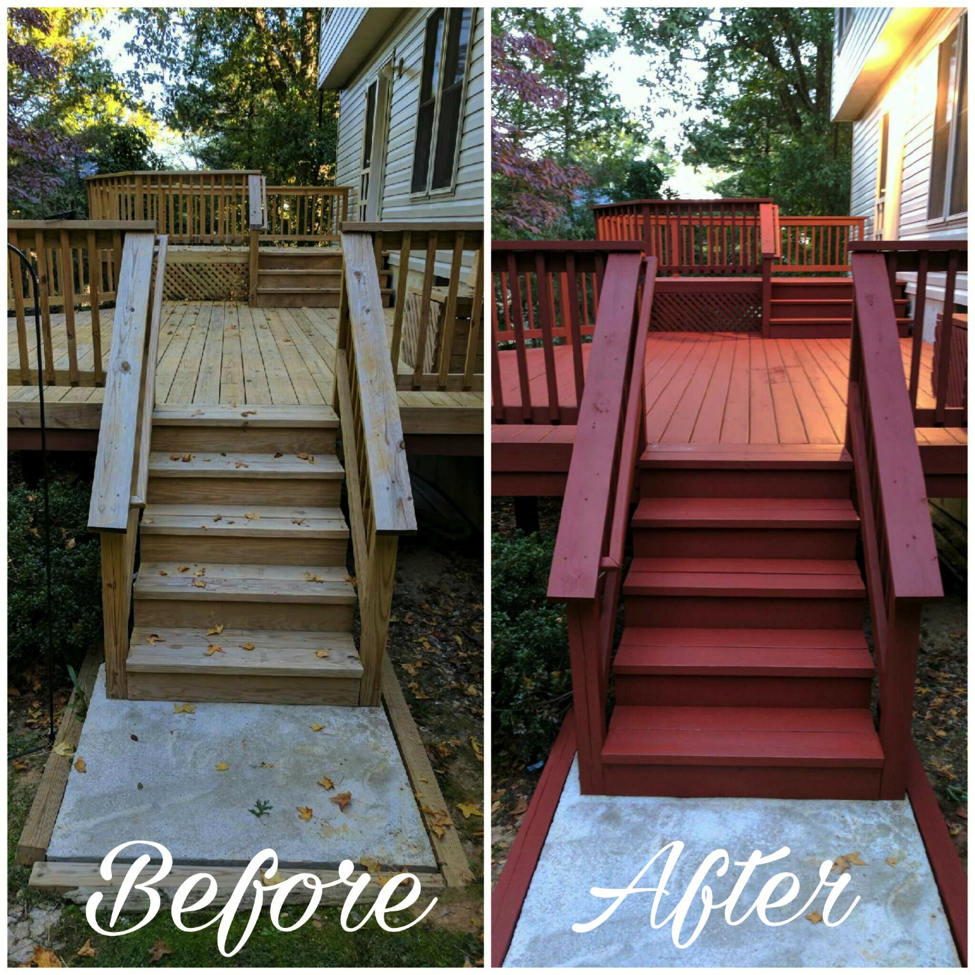
When deciding on the ideal tarnish, you'll want to consider the kind of wood you're functioning with. Different types of timber have different qualities that can impact exactly how well they absorb the tarnish.In enhancement to the sort of timber, you need to likewise think about the color you intend to attain. Spots are available in a variety of shades, from light to dark, and can dramatically change the appearance of your deck. If you're looking to enhance the all-natural shade of the timber, pick a transparent or semi-transparent tarnish. These allow the timber grain to reveal through while including a refined hint of color. For a more dramatic result, select a solid or nontransparent discolor, which will totally cover the wood as well as give a strong, consistent shade.
Lastly, consider the level of security you desire for your deck. Discolorations with higher levels of pigment tend to supply far better protection against UV rays as well as wetness. If your deck is revealed to harsh weather, it deserves investing in a discolor with included protective high qualities.
Cleansing and also Repairing the Deck
Using the Discoloration
Completing Touches and also Upkeep Tips
After using the final coat of discolor, it is necessary to on a regular basis tidy as well as seal your deck to maintain its beauty and also shield it from the components. Cleansing your deck ought to end up being a part of your regular upkeep regimen. Utilize a mop or fallen leave blower Website to eliminate any type of dirt, leaves, or particles that may have built up on the surface. For a much deeper clean, you can make use of a power washing machine, but beware not to utilize way too much pressure as it can damage the wood. When the deck is tidy, it's time to seal it. Select a high-quality sealer that is particularly developed for decks and also apply it according to the manufacturer's guidelines. A sealant will certainly not only shield the wood from moisture and UV rays, however it will also improve the shade and coating of the tarnish. It's advised to use a brand-new coat of sealant every 1-2 years to keep your deck looking its ideal. By routinely cleaning and also securing your deck, you will certainly extend its life expectancy as well as make sure that it continues to be a gorgeous and also welcoming outside area for several years ahead.
Final Thought

Report this wiki page